- 15min
An easy wheel change with LIQUI MOLY
Whether it’s a professional workshop visit or a hands-on experience when changing the wheels, there are a few things that need to be done beforehand. In this article, you’ll learn everything you need to know to be perfectly prepared for the wheel change into the new season.
First and foremost, however, a brief definition of terms is useful. After all, changing a wheel is not the same as changing a tire. A wheel change refers to the complete wheel, i.e. including the rim. A tire change, on the other hand, means removing the old rubber and fitting new tires on the rim.
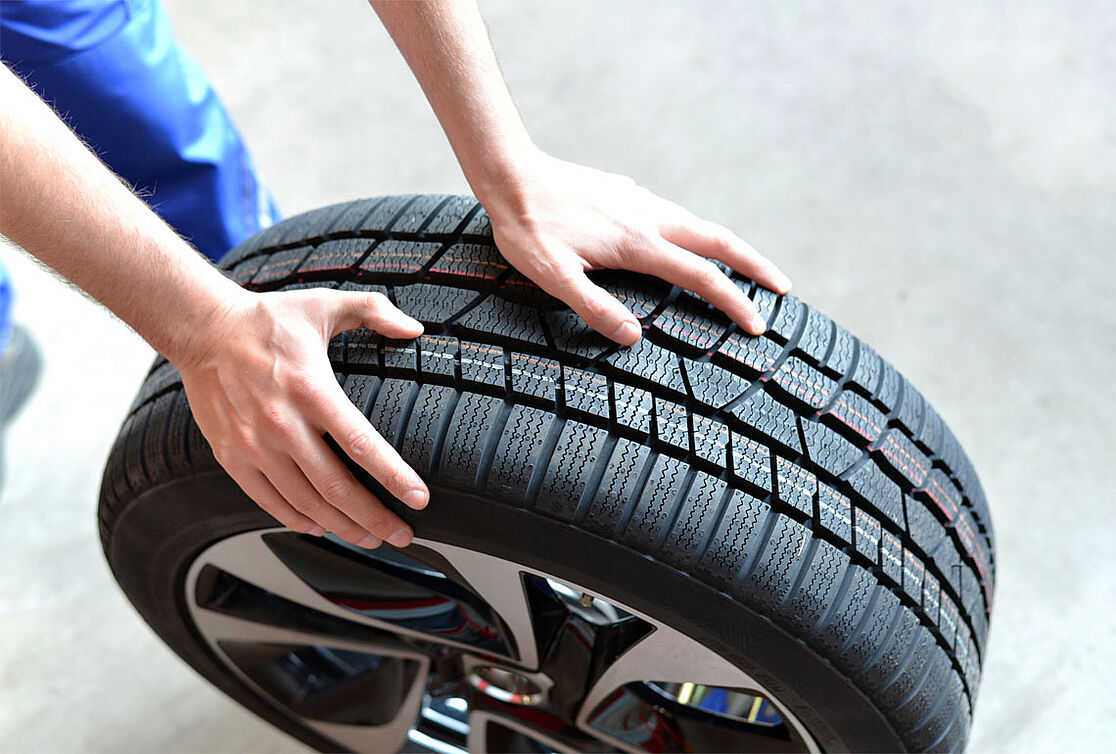
Before changing wheels, make sure that the running surfaces of your tires still have sufficient tread depth (at least 1.6 mm by law). Nevertheless, it is not good to run the tires down to this minimum tread depth. Experts recommend that the tread depth should not be less than 4 mm in winter and not less than 3 mm in summer. In an official inspection, the most worn section is the one that counts. That’s why you should check as many areas of the tread surface as possible.
The age of the tires is also decisive for the braking and drive quality. After about six years, the rubber compound is too hard; its grip might deteriorate at lower temperatures. After eight to ten years, a tire should definitely be disposed of. The four-digit DOT number (Department of Transportation) on the sidewall of the tire provides information about the month and year of production. “0323”, for example, stands for the third calendar week in 2023.
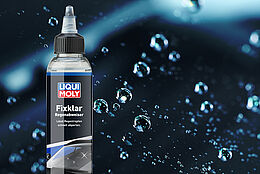
Check whether your vehicle is equipped with a tire pressure monitoring system (TPMS). Incidentally, this has been mandatory for all new cars since 2014. The TPMS issues an alarm message when the tire pressure changes. It can also be triggered when changing tires due to different tire sizes. With an indirect measuring system, only the rolling movements of the wheels are analyzed by the on-board electronics. The system can be recalibrated at the touch of a button in the vehicle’s system settings after the wheel change. In the case of a direct measuring system, the sensors mounted in the tire send the pressure to the control unit of the vehicle. If the tires are changed, each individual sensor must be reprogrammed with a special device – and in many cases this can only be done at a qualified workshop.
Before changing wheels, find out whether you still have enough tread depth on the tire set for the next season and whether the rubber has become too old. Not sure? For a simple tire check, we recommend a non-committal visit to your specialist workshop and, if necessary, a professional tire change or service.
If you choose the professional option of having the wheels changed in the shop, you should make a changeover appointment at an early stage. The sooner car drivers arrange a date for the tire changeover, the more relaxed it will be, advises the ADAC automobile club. This is because free appointments for a wheel change shortly before the season are often very difficult to obtain. So it pays to be early!
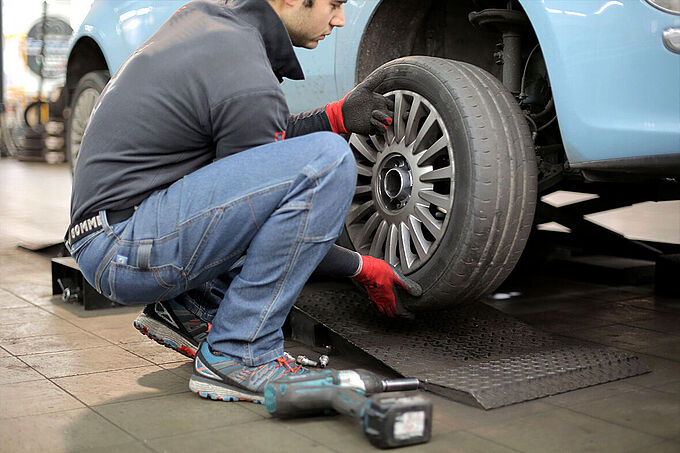
Professional wheel change in the workshop
If the tires are too old for the new season or have too little tread, a trip to the workshop before the actual wheel change is usually unavoidable for the tire change/service. It makes sense to combine these two jobs. Very few people have the necessary equipment and know-how to fit new tires on the rim without damaging it or to balance the wheel correctly afterwards.
Balancing is always advisable and can also be carried out between tire changes if desired. This is because imbalance due to small impacts and knocks on curbs or the loss of the small tape or hammer-on weights is not uncommon. Thanks to the balancing, the wheels run vibration-free. If the wheels are not properly balanced, the wear on the entire vehicle could increase. If you notice small vibrations when driving and your gut feeling tells you that the wheels should be balanced again, do not hesitate to consult the workshop.
For a professional wheel change or tire service and a subsequent safe journey, it is always advisable to visit the workshop – even for the supposedly simple wheel change including tire check by a trained eye!
More information on professional tire service
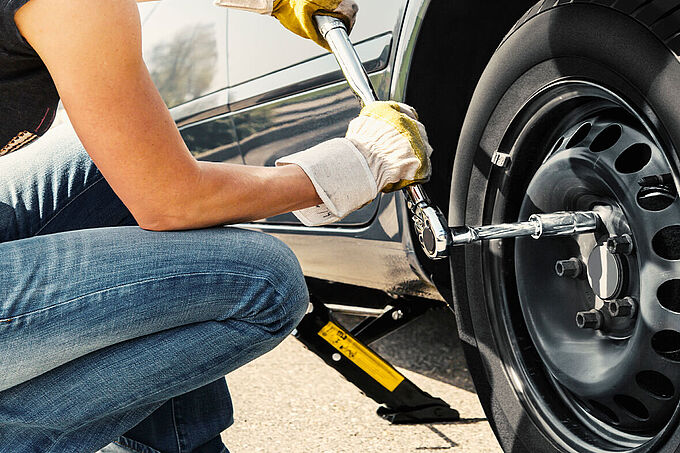
Do your own wheel change
Wheels can also be changed in your own garage. However, you should keep a few things in mind. When changing wheels, even small mistakes can lead to a major accident risk for you and your vehicle. We therefore recommend that you go to a qualified workshop if you do not have sufficient experience!
Preparation
You will need a few tools to change the wheel. These include a stable jack designed for the vehicle, a torque wrench, a lug wrench or an impact wrench with a corresponding socket, some sandpaper or a wire brush, chocks, wax crayon and, if required, the right rim lock key for the wheel bolts. Wheel Hub Paste and Rapid Cleaner are also recommended.
Depending on whether you change from steel rims to alloy wheels or vice versa, or in some cases between two sets of alloy rims, you will need different wheel bolts. These are always matched to the respective rim and can differ in length or bolt head shape. Therefore, before removing the wheels, check whether you can use the same wheel bolts for both sets of rims or whether you need others. These are usually stored under the trunk lid and handed over when new rims are purchased.
Caution: The use of incorrect wheel bolts is dangerous and can lead to uneven running characteristics and thus to heavy wear on the entire car and, in the worst case, to an accident.
Changing wheels
At the beginning, the vehicle must be placed in a stable position on solid ground, the handbrake applied, the first gear engaged – or, in the case of automatic transmission vehicles, the “P” position set – and the chocks placed on the diagonally opposite wheel. Then loosen the wheel bolts by about a quarter of a turn, as they cannot be loosened afterwards when the tire is no longer in contact with the ground. Then place the jack in the designated position and lift up the car until the wheel is in the air. Please refer to the safety instructions in the operator’s manual of the respective vehicle to find out where you are permitted to place the jack.
Caution: Incorrect positioning of the jack can cause serious damage to the bodywork. There is also a risk of accident and injury!
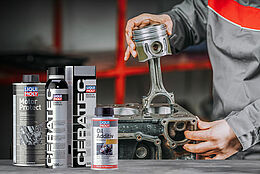
After reaching the fitting height, i.e. when the wheel is completely in the air, the wheel bolts can be removed and the wheel taken off. On this occasion, it is also advisable to take a look at the condition of the brake pads and brake disks.
Note: Due to rust, wheels can sit very tightly on the centerings of the steel hubs.
After removing the wheel, mark its position on the vehicle (e.g. FR = front right, FL = front left, RR = rear right, RL = rear left) with the help of a wax crayon or other marking aid. This helps to position the wheels correctly during refitting next season and to avoid any confusion.
Note: Marks on the treads of the wheels disappear by themselves without leaving any residue after only a few kilometers of driving.
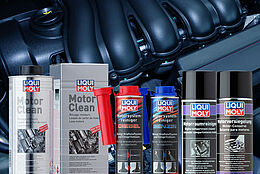
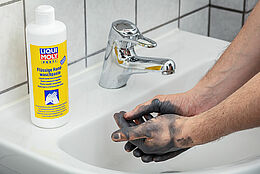
Dirt, oxidation layers or rust on the contact surfaces, joints or threads can be removed with a wire brush or with the help of the sandpaper and then cleaned with the Rapid Cleaner. The Rapid Cleaner removes soiling such as oil and grease stains and other dirt from floor coverings, fabrics or paneling, making the fitting work easier, cleaner and safer. Parts treated will be completely free of residues and fully degreased afterwards. Due to its good penetration properties, the controlled and residue-free evaporation as well as its degreasing function, it is particularly suitable for cleaning brakes, clutches, transmissions as well as other fitting and repair work.
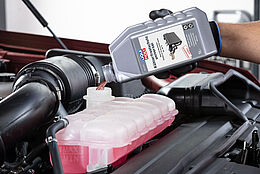
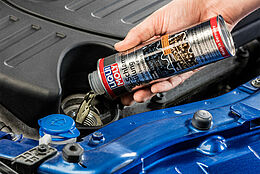
Then use the Wheel Hub Paste to prevent the rims from seizing or rusting on the wheel hub and to ensure easy wheel removal next season. The paste can also be used for repair and maintenance work on brake systems.
Caution: Do not apply Wheel Hub Paste to the friction surface of the brake pads or brake disks! However, if they come into contact with dirt or greasy substances, they must be cleaned and degreased using the Rapid Cleaner, as otherwise the braking effect is no longer guaranteed.
Now you can mount the wheel for the new season. For vehicles with single-axle drive and the same tire size and width for all four wheels (no mixed tires), it is recommended that the wheels mounted on the front axle in the previous season be fitted on the rear axle. This ensures even wear of the tires.
Caution: Some tires are designed to be used only in one running direction. The rotation arrow on the sidewall indicates the direction of a tire’s rotation. Diagonal swapping is not possible with this type of tire.
The placement marks (FR/FL/RR/RL) of the last wheel change help you to position the wheel correctly. First tighten the wheel bolts hand-tight and then lower the vehicle until the tire makes contact but is not yet fully supported on the ground. Then tighten the wheel bolts to the torque specified in the vehicle owner’s manual. This varies depending on the vehicle and rim or tire size. Great care must be taken here! Carefully lower the car completely and repeat the procedure for all four wheels.
Note: After driving 50 km, it is advisable to check the wheel bolts again with the torque wrench and retighten them if necessary.

Last but not least, you need to check the air pressure of the tires. Due to the long storage time and the temperature change, the tires usually lose their air pressure. Refer to your vehicle manual or to the information on the inside of the fuel cap or the driver’s door frame for the correct value. Correct tire pressure is important, otherwise the tire will be worn unevenly, which can also lead to increased tire wear and fuel consumption. If available, recalibrate the TPMS in the vehicle settings after checking the tire pressure. A calibration device may be required for this, as described above.
Final work
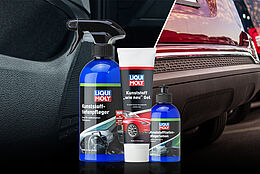
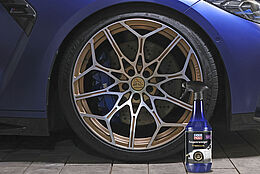
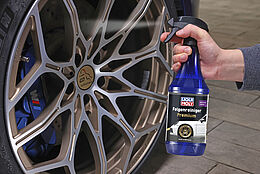
After the wheel change is before the wheel change. Already when storing the wheels, you can save yourself work for the next season. In addition to road dirt, metallic brake dust also settles on the protective coating of the wheels and becomes increasingly difficult to remove over time. It is therefore advisable to wash and clean the rims and tires before storing them. Our Special Rim Cleaner provides a quick, easy and reliable remedy for this. It cleans so intensively that it can even cope with stubborn dirt and, depending on the degree of soiling, brings the shine back to the wheel housing after 5 to 7 minutes of exposure time and subsequent thorough rinsing with a strong water jet. For extremely persistent dirt, you can additionally use a sponge or brush during the treatment time. It contains no acids, is biodegradable and thus environmentally friendly.
Its effectiveness was confirmed by, for example, the trade magazine “auto motor und sport” in issue 21 on 09/28/2017: With 88 points out of 100, our product achieved second place in the rim cleaner test and was convincing not least because of its attractive price. Then as now, a TOP PRODUCT!
LIQUI MOLY Special Rim Cleaner Application
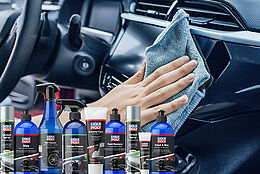
Do you want to get your tires shining again? No problem! Our Tire Bright Foam was specially developed for the cleaning, care, protection and visual upgrading of tires in one go. It gives weathered tire walls an intensive shine again in no time (not suitable for two-wheelers)!

Small puncture? Don’t panic! Tire Repair Spray to the rescue!
Small puncture? Not a major problem! Our Tire Repair Spray seals flat tires and pumps them up again. For all types of tires with and without tube. However, it should not be used if the inner tube is slit open, if the tire has slipped off the rim or if the casing is torn open at the side. And the tire can then be easily repaired later!
Caution: Tire Repair Spray is not a permanent solution! It serves as a quick fix only for driving to the nearest workshop.